
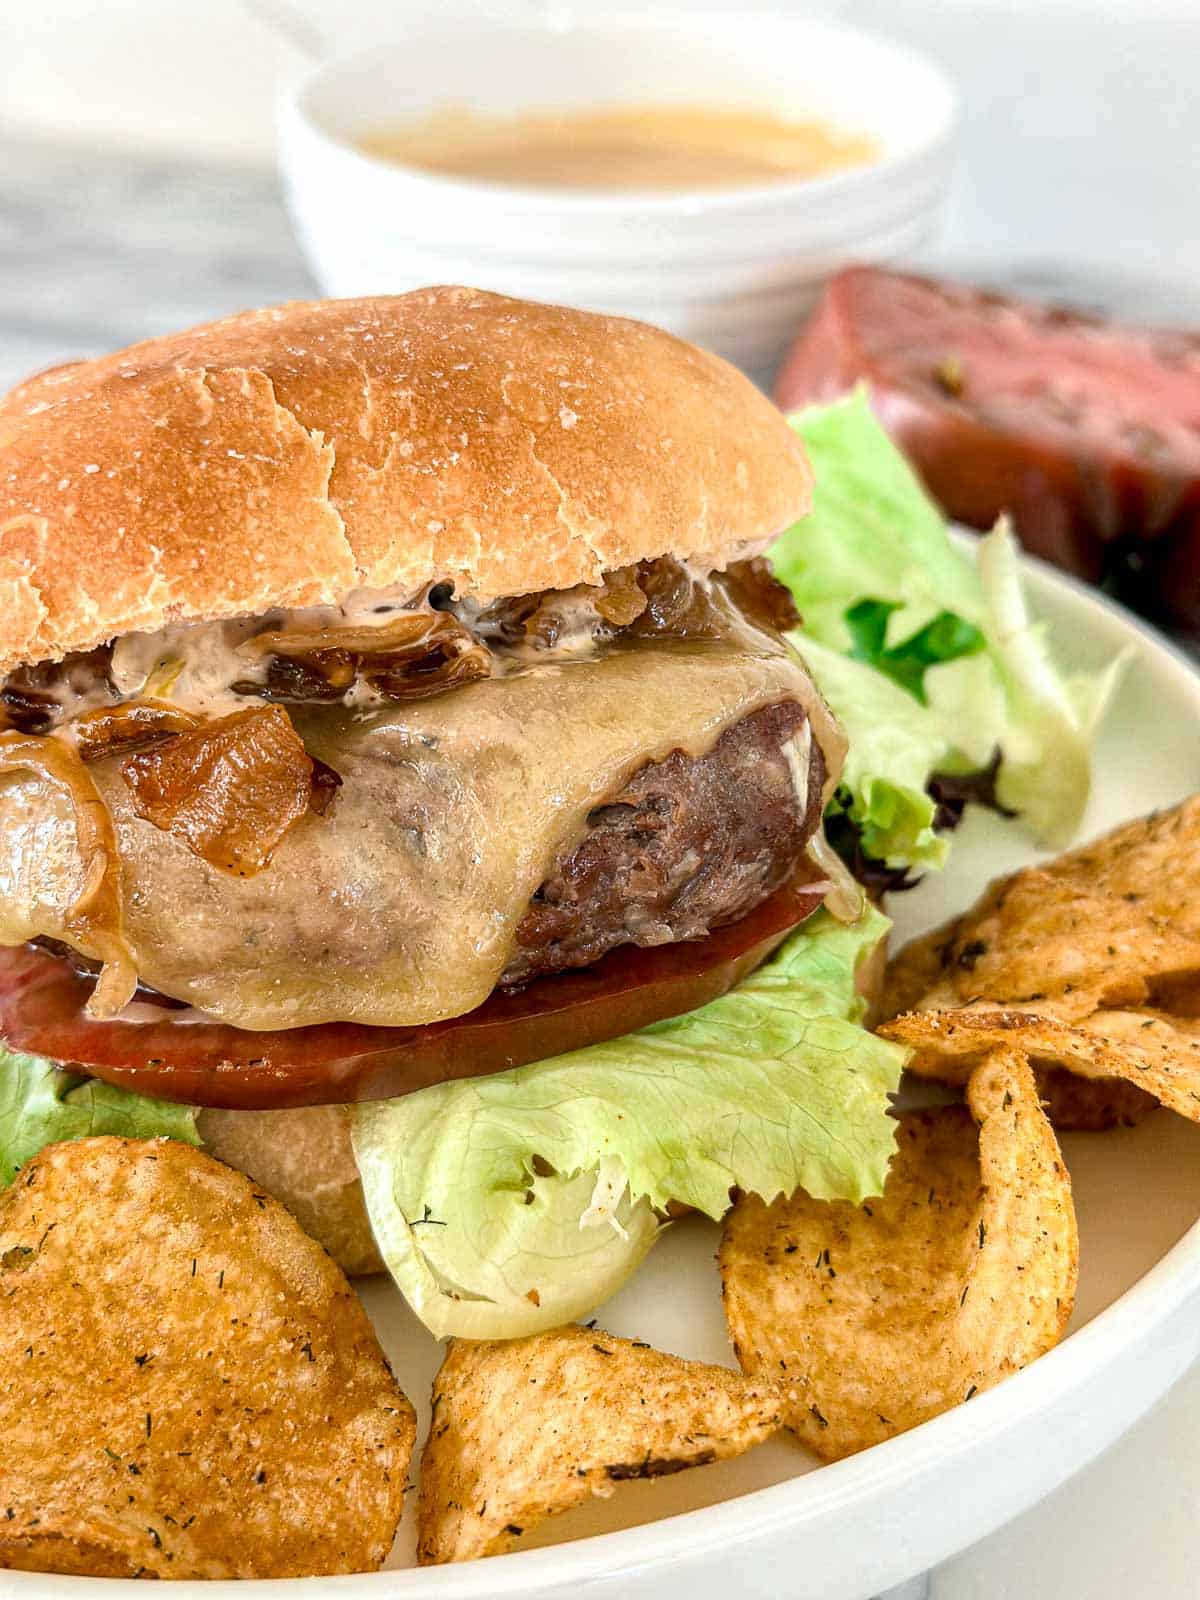
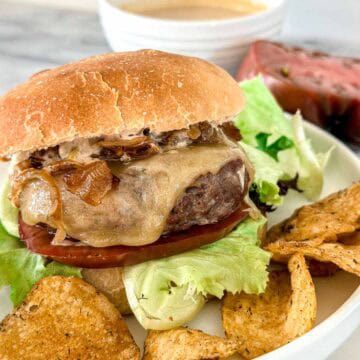
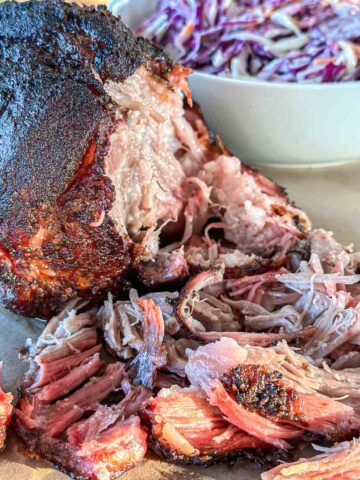
Grilled Cheeseburgers are a classic backyard staple made with seasoned grass-fed ground beef, grated onion, and simple spices, cooked hot and fast over direct heat until juicy, charred, and topped with melted sharp cheddar. They're a quick grilling recipe that works just as well on a busy Tuesday night as they do at a summer cookout for the whole crew. Unlike most burger recipes, this version uses a grated onion technique rooted in Middle Eastern cooking to lock moisture into the patty from the inside out, so every bite is tender and juicy, no matter which fat ratio you're working with.
Recipe At A Glance
- 🔥 Method: Direct grilling
- 🌡️ Grill Temp: 425°F
- ⏱️ Total Time: About 20 minutes
- 🍔 Serves: 4
- 🌿 Best For: Summer BBQs, weeknight dinners, and make-ahead meal prep
- 🥩 Beef: Grass-fed 85/15 or 93/7 ground beef
- ✨ What Makes It Different: Grated onion mixed into the patty helps keep every burger juicy
Growing up, grated onion was just part of how we cooked ground meat. In my family, it was standard in our kofta recipe, and when we made American-style burgers at home, the grated onion came right along with us. It adds moisture, it adds a subtle sweetness, and it completely disappears into the meat as it cooks.
I only use grass-fed ground beef, which can run leaner than conventional, especially if you're using 93/7. Leaner beef has less fat to protect it on a hot grill, and without the right technique, a perfect-looking patty can turn into a dry puck by the time it hits the bun.
The grated onion solves this. As the patty cooks, the onion releases moisture from the inside out, keeping things tender regardless of which fat ratio you're using. No breadcrumbs, no mayo, no butter mixed into the patty, just grass-fed beef and grated onion for moisture. It's simple, real-food cooking, but it makes a huge difference in the final texture.
I've been making these burgers for over a decade. They started as a way to recreate the Shake Shack and In-N-Out experience at home, but with ingredients I actually felt good about.
We make them a couple of times a month and almost every week in the summer. The other thing I love is how make-ahead friendly they are. You can form the patties the morning of (or even the night before), and all you have to do when it's time to eat is fire up the Traeger and go. Serve them up with my Smashburger Sauce or In-N-Out Sauce.
As a nutrition coach, I'm always looking for ways to make real food simple without cutting corners on quality. This recipe is exactly that: minimal ingredients, a smart technique, and real grass-fed beef that your family will ask for on repeat.
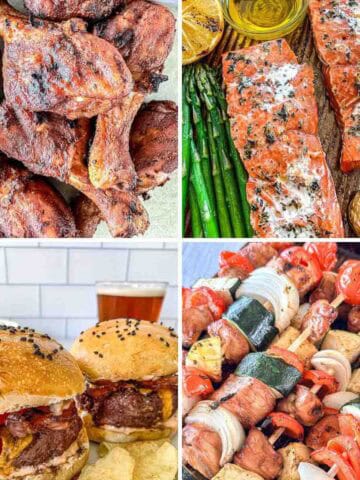
If you're looking for more easy summer recipes and want a burger with more smoke, check out my Traeger Smoked Burgers for a slower, smokier version. For another easy weeknight grill recipe, my Traeger Kabobs are a family favorite too.
Jump to:
- Recipe At A Glance
- Ingredients You'll Need
- Substitutions And Variations
- Best Beef For Grilled Cheeseburgers
- How To Make Grilled Cheeseburgers
- Quick Tip
- Grilled Burgers Prep & Cook Time
- Grilled Cheeseburger Temperature Guide
- Nadia's Expert Tips & Notes
- What to Serve With Grilled Cheeseburgers
- Storage And Reheating
- Recipe FAQs
- More Grilling & Smoking Recipes You'll Love!
- Juicy Grilled Cheeseburgers For Gas or Pellet Grills
- Expert Tips & Notes
Ingredients You'll Need
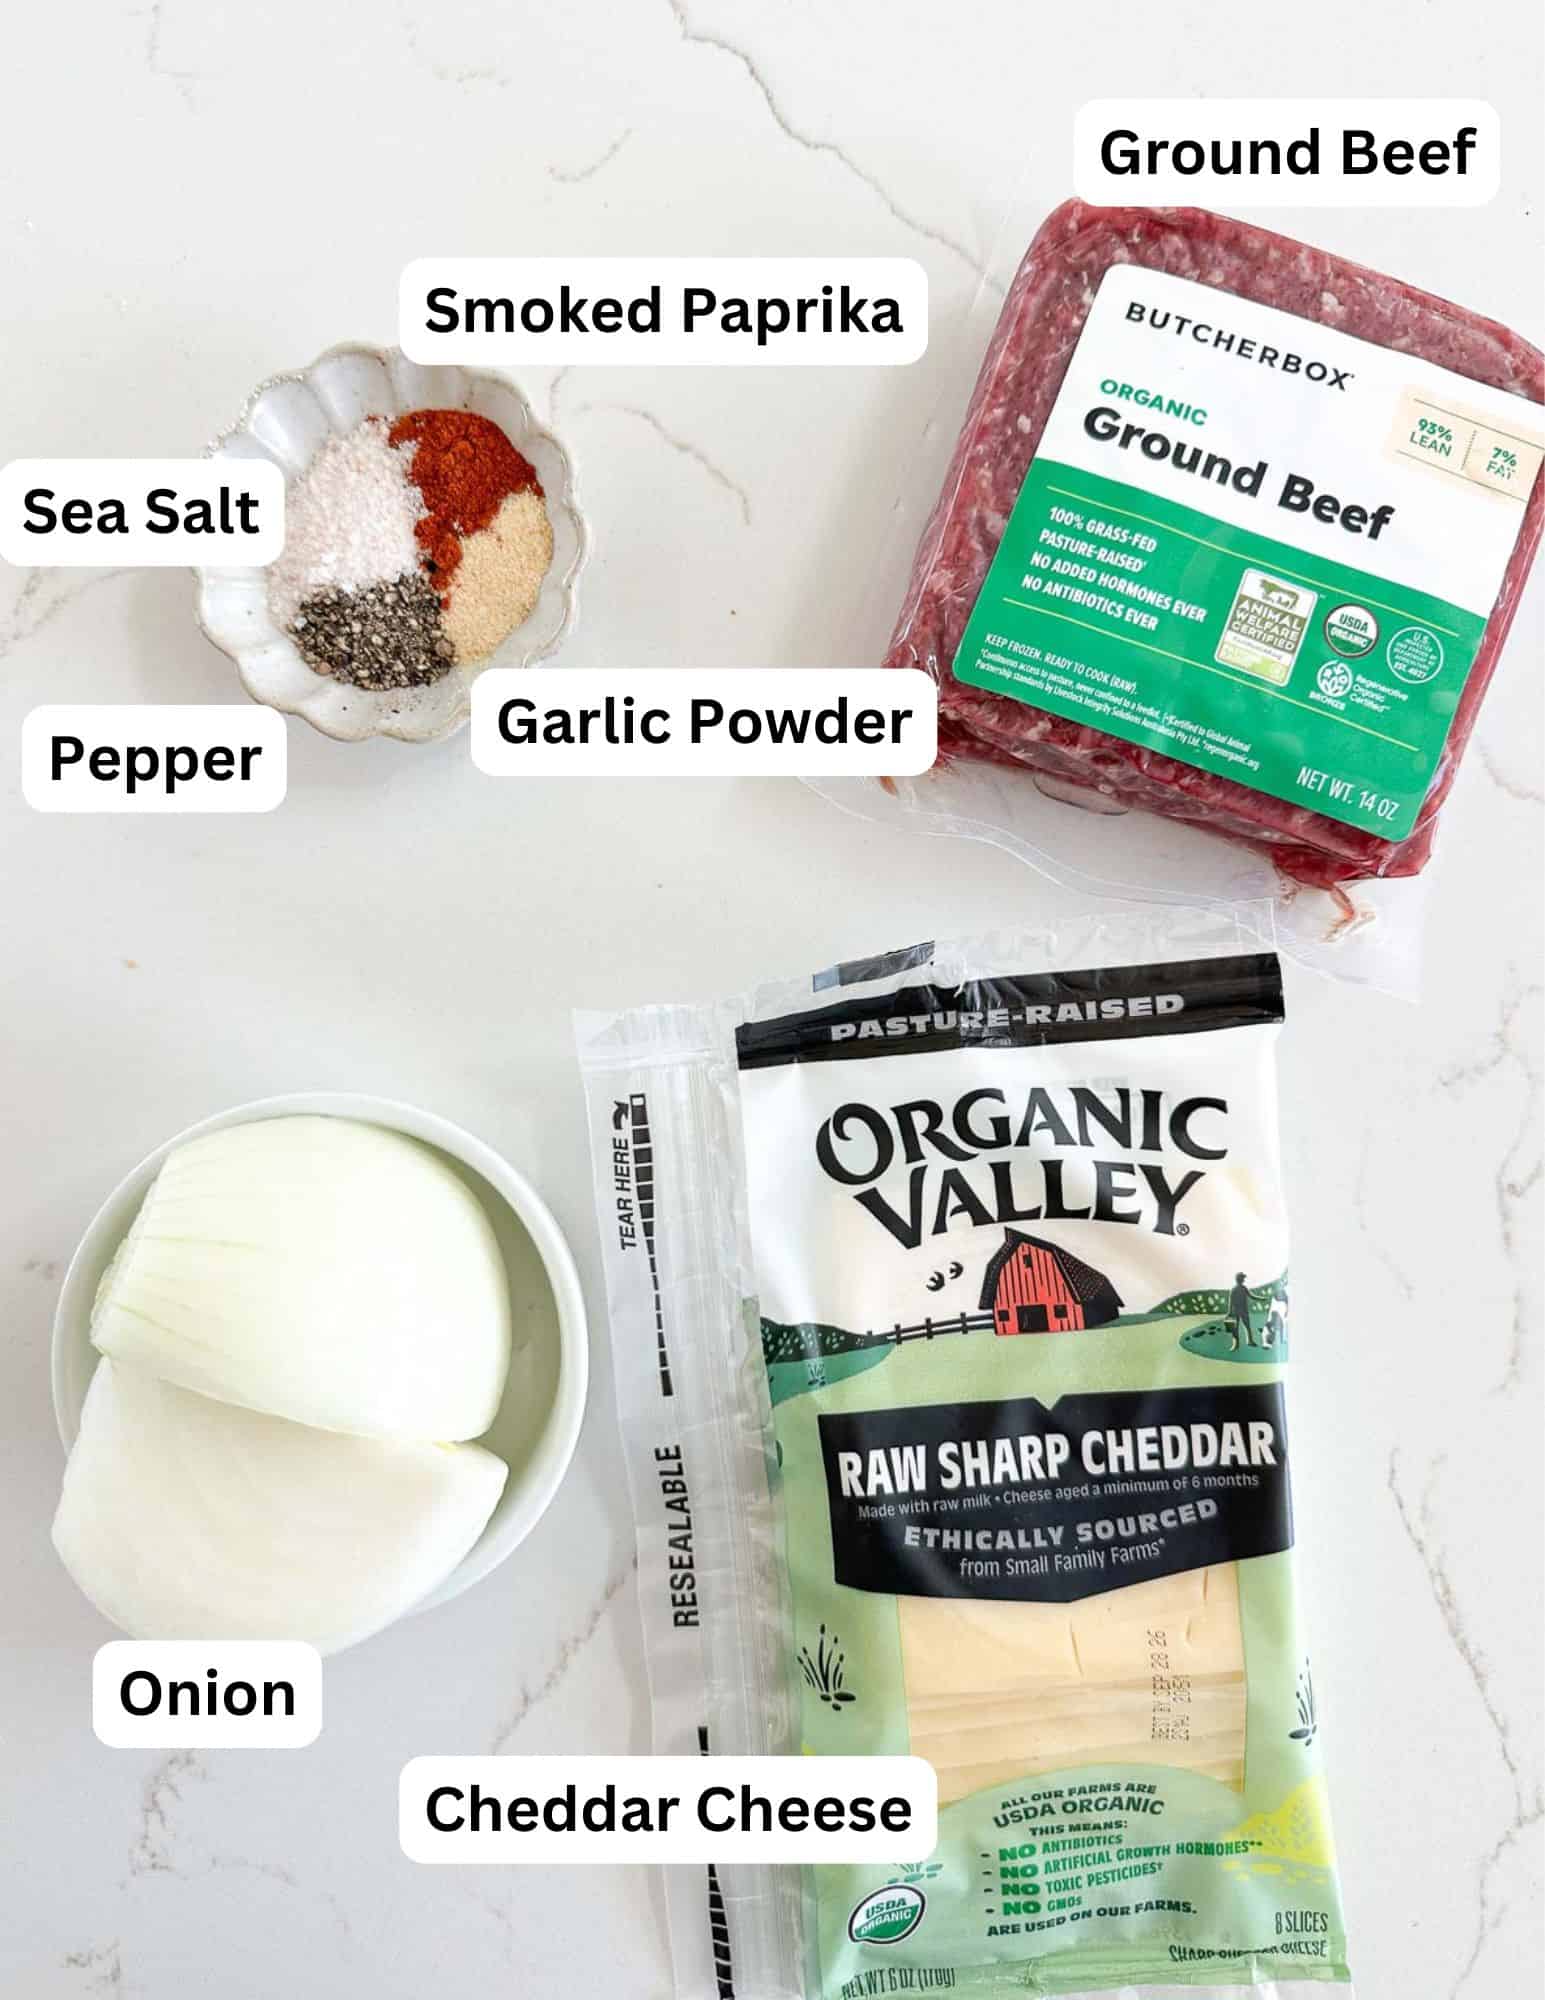
- Grass-Fed Ground Beef (85/15 or 93/7): I use either 85/15 or 93/7 grass-fed ground beef for this recipe. The 85/15 will give you the juiciest burger, while 93/7 works well when paired with the grated onion technique to keep the patties moist. ButcherBox is what I often reach for here, but any high-quality grass-fed beef will work.
- Grated Onion: This is the secret. Grating the onion instead of dicing it means it essentially melts into the beef, releasing moisture and adding subtle flavor without any chunky texture. Don't skip it and don't swap it for diced. This gives you a juicy burger without breadcrumbs, mayo, or butter mixed into the patty.
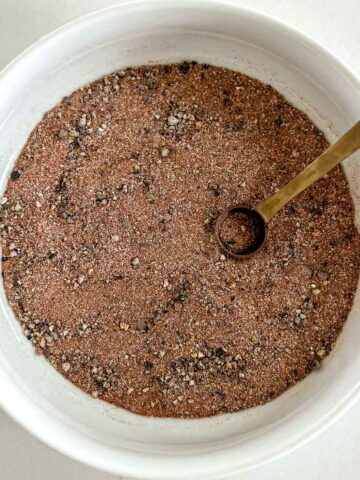
- Garlic Powder: Adds a savory backbone without overpowering the beef. I keep it simple here because the quality of the beef should do most of the work.
- Smoked Paprika: A little goes a long way. It adds warmth and a subtle smoky note that plays perfectly with the char from the grill.
- Sea Salt: Use fine sea salt so it distributes evenly throughout the patty. Good salt makes a real difference in a recipe this simple.
- Black Pepper: Freshly ground if you have it. Classic and it works.
- Sharp Cheddar Cheese: Organic Valley raw sharp cheddar is my go-to. The sharper the cheese, the better the melt and the more flavor you get. Avoid pre-shredded cheese since the anti-caking agents affect how it melts.
See the recipe card for full information on ingredients and quantities.
Substitutions And Variations
- Change the fat ratio. Use what you have, but know that fat ratio affects texture. The 85/15 will give you the juiciest result, while 93/7 works well if you prefer a leaner burger. Just keep an eye on leaner patties since they can cook a little faster over direct heat.
- Try a different cheese. Sharp cheddar is my preference, but a good-quality pepper jack melts beautifully and adds a little heat, and gruyere is a more elevated option if you want something different. Just stick with real, minimally processed cheese and skip anything labeled "processed cheese product."
- Add Worcestershire sauce. A teaspoon mixed into the beef adds a deeper umami layer to the patty. If you use it, go easy on the overmixing since the extra liquid makes the mixture a little looser.
- Use a different grill. This recipe works on any grill. Gas, charcoal, or a pellet grill like the Traeger all get you there. The key is preheating to around 425°F and cooking over direct heat, so whatever you're working with, make sure it's hot before the patties go on.
- Make it dairy-free. Skip the cheese altogether or use a dairy-free alternative you trust. The patties are just as good without it.
Best Beef For Grilled Cheeseburgers
After making these with both 85/15 and 93/7 grass-fed beef, I've found that 85/15 gives you the richest, juiciest burger because it has enough fat to stay tender over high heat. I also use 93/7 from ButcherBox often, especially for weeknight dinners when I want something a little leaner, and that is where the grated onion really helps. It adds moisture back into the patty without needing breadcrumbs, mayo, or butter mixed into the beef.
How To Make Grilled Cheeseburgers
This is an overview with step-by-step photos. Full ingredients & instructions are in the recipe card below.
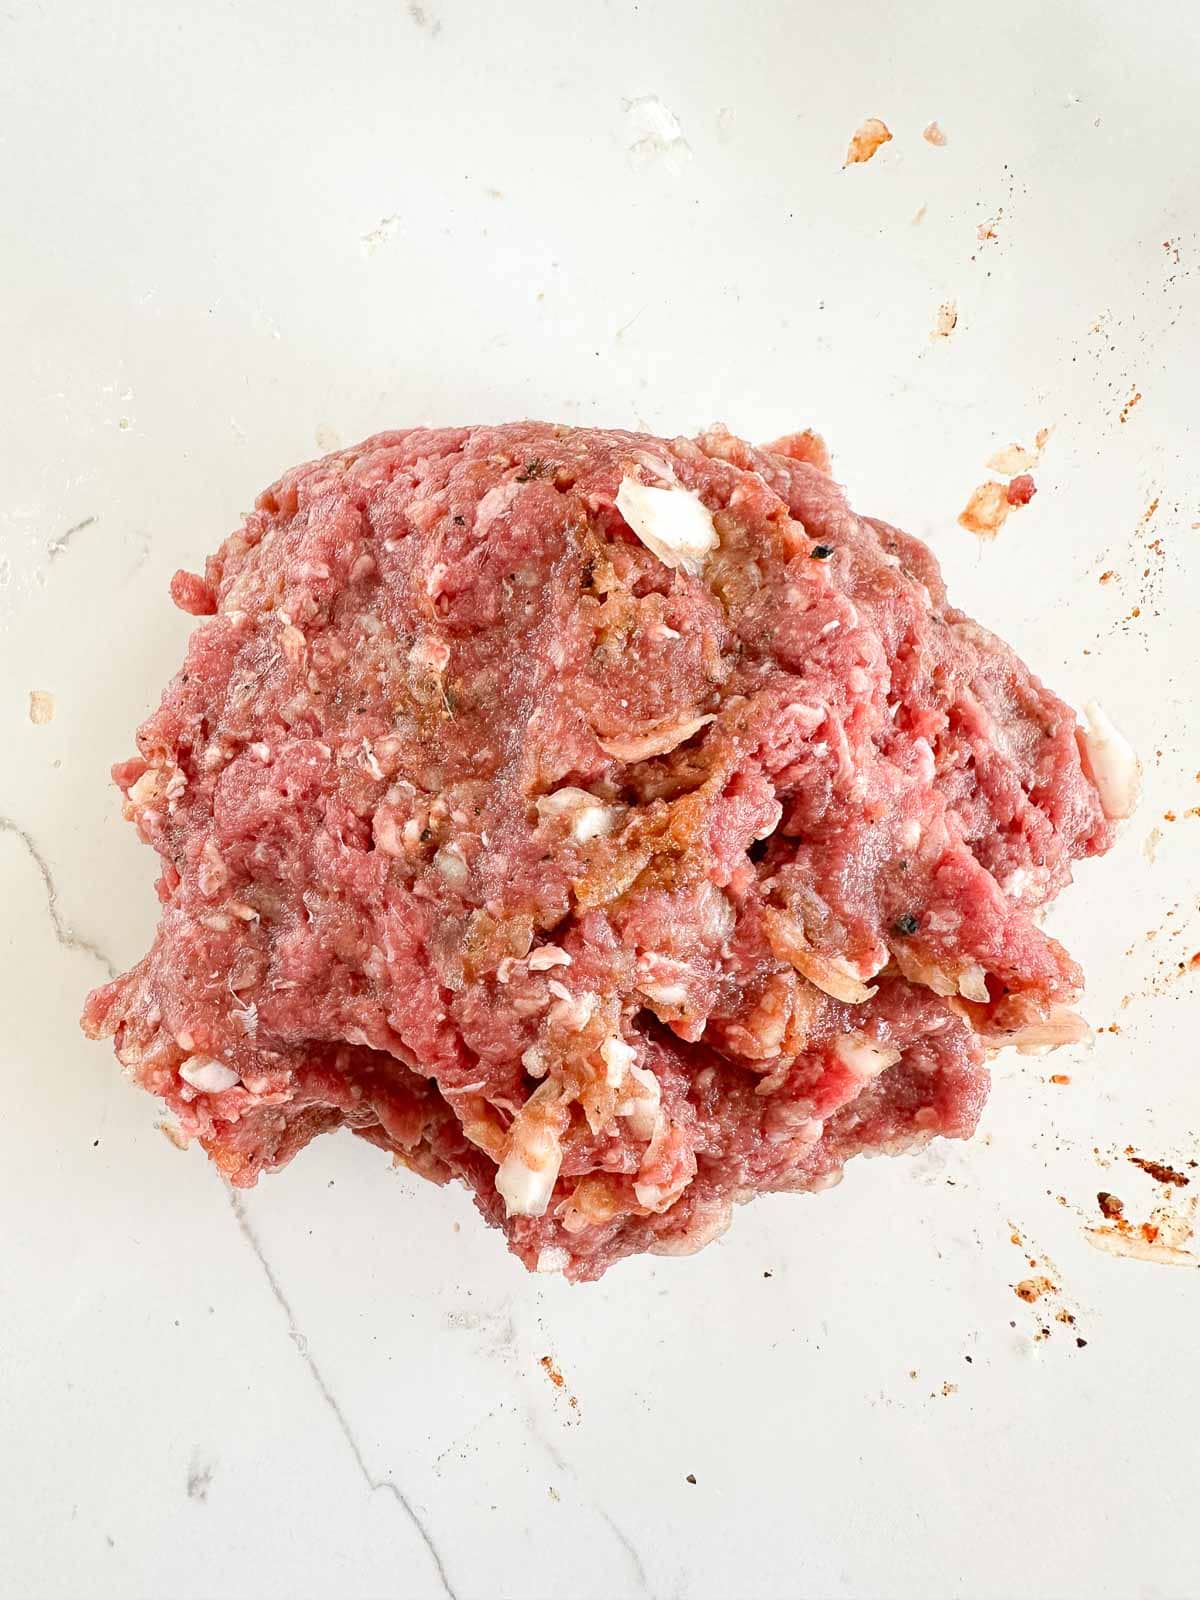
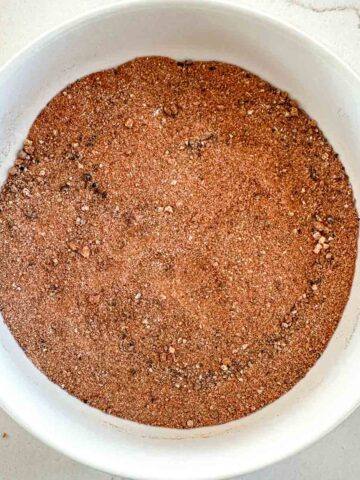
- Step 1: Preheat your Traeger (or any grill) to 425°F on direct heat. While it's heating up, add the ground beef, grated onion, garlic powder, smoked paprika, sea salt, and pepper to a large bowl. Use your hands to gently combine everything together, but be careful not to overmix. Overworking the meat is the fastest way to end up with a dense, tough patty.
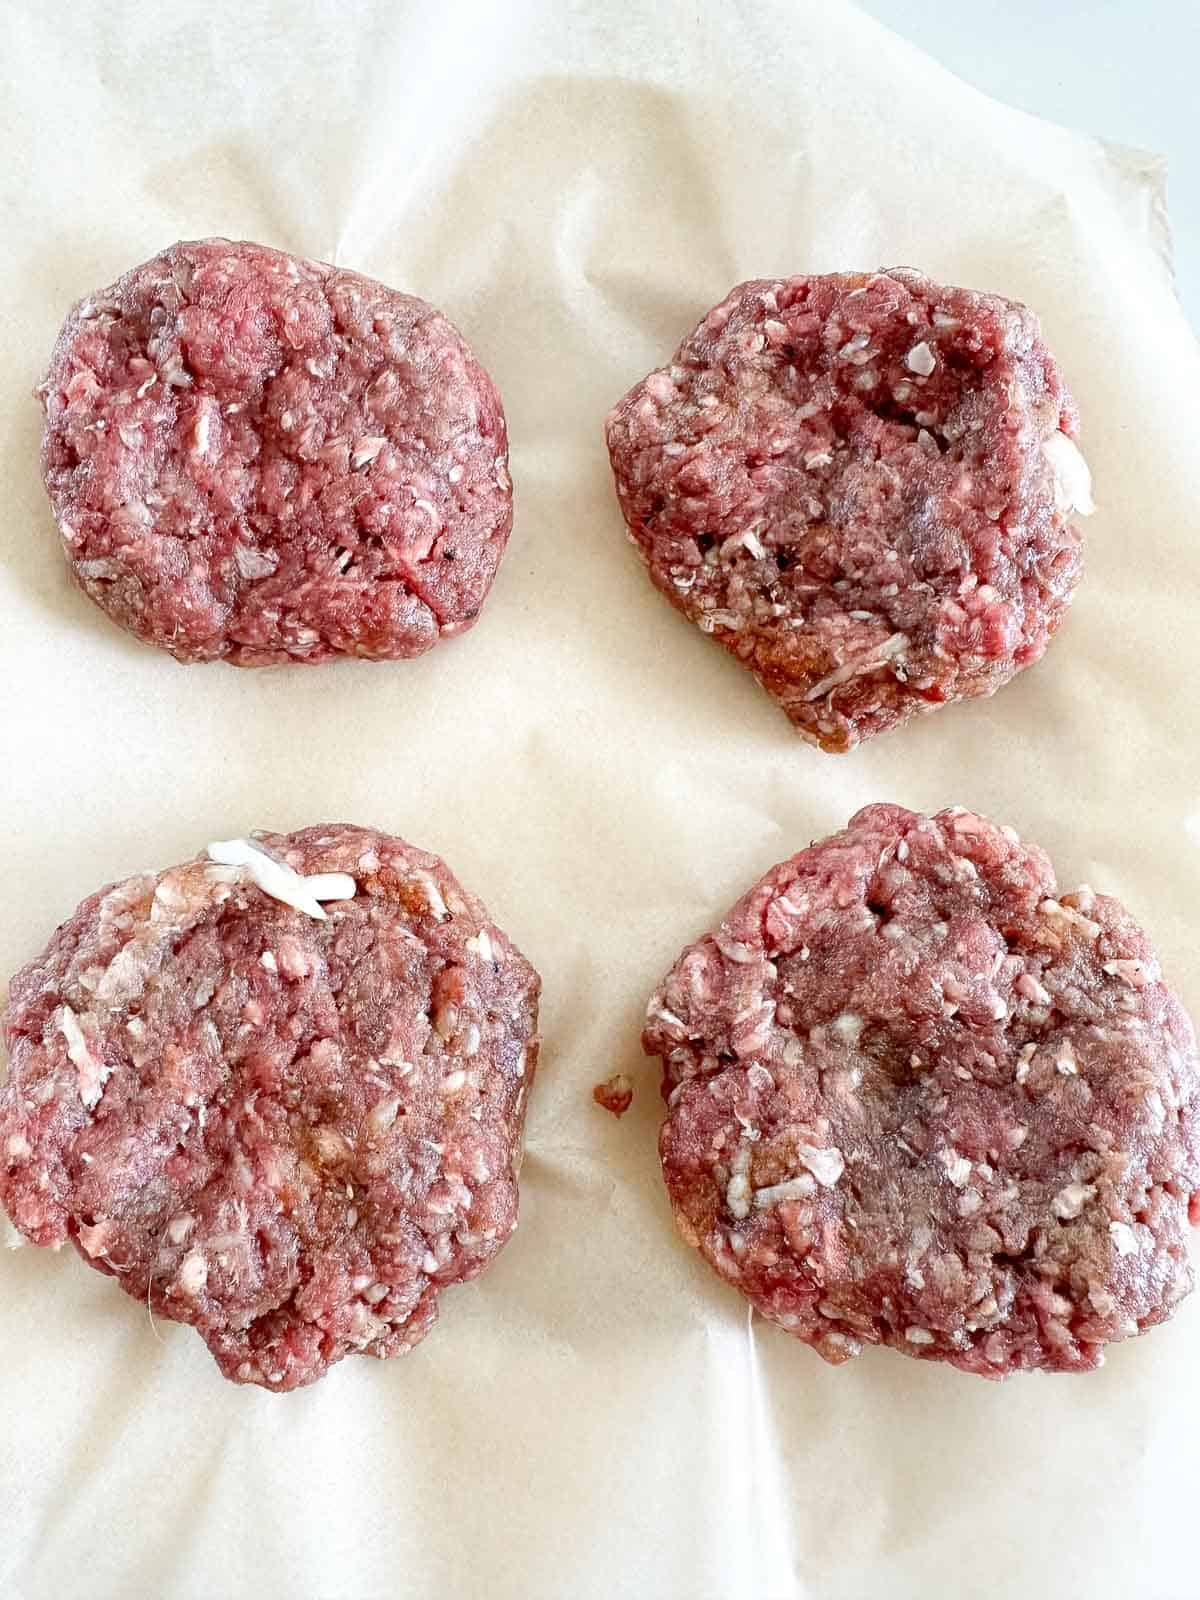
- Step 2: Divide the mixture into 4 equal portions, about 4 oz each. Shape each one into a patty with your hands, making it slightly wider than your bun because the patties will shrink as they cook. For this timing, aim for 4-ounce patties that are about ½ to ¾ inch thick. Thicker patties will need more time, so use a thermometer instead of relying only on the clock. Once formed, press a shallow indent into the center of each patty with your thumb. This simple step keeps the center from puffing up and helps the burger cook more evenly all the way through.
Quick Tip
After grating the onion, I like to use the onion and its juices, but if it looks extremely watery, give it a gentle squeeze so the burger mixture stays easy to shape. You want moisture, not a loose meat mixture.
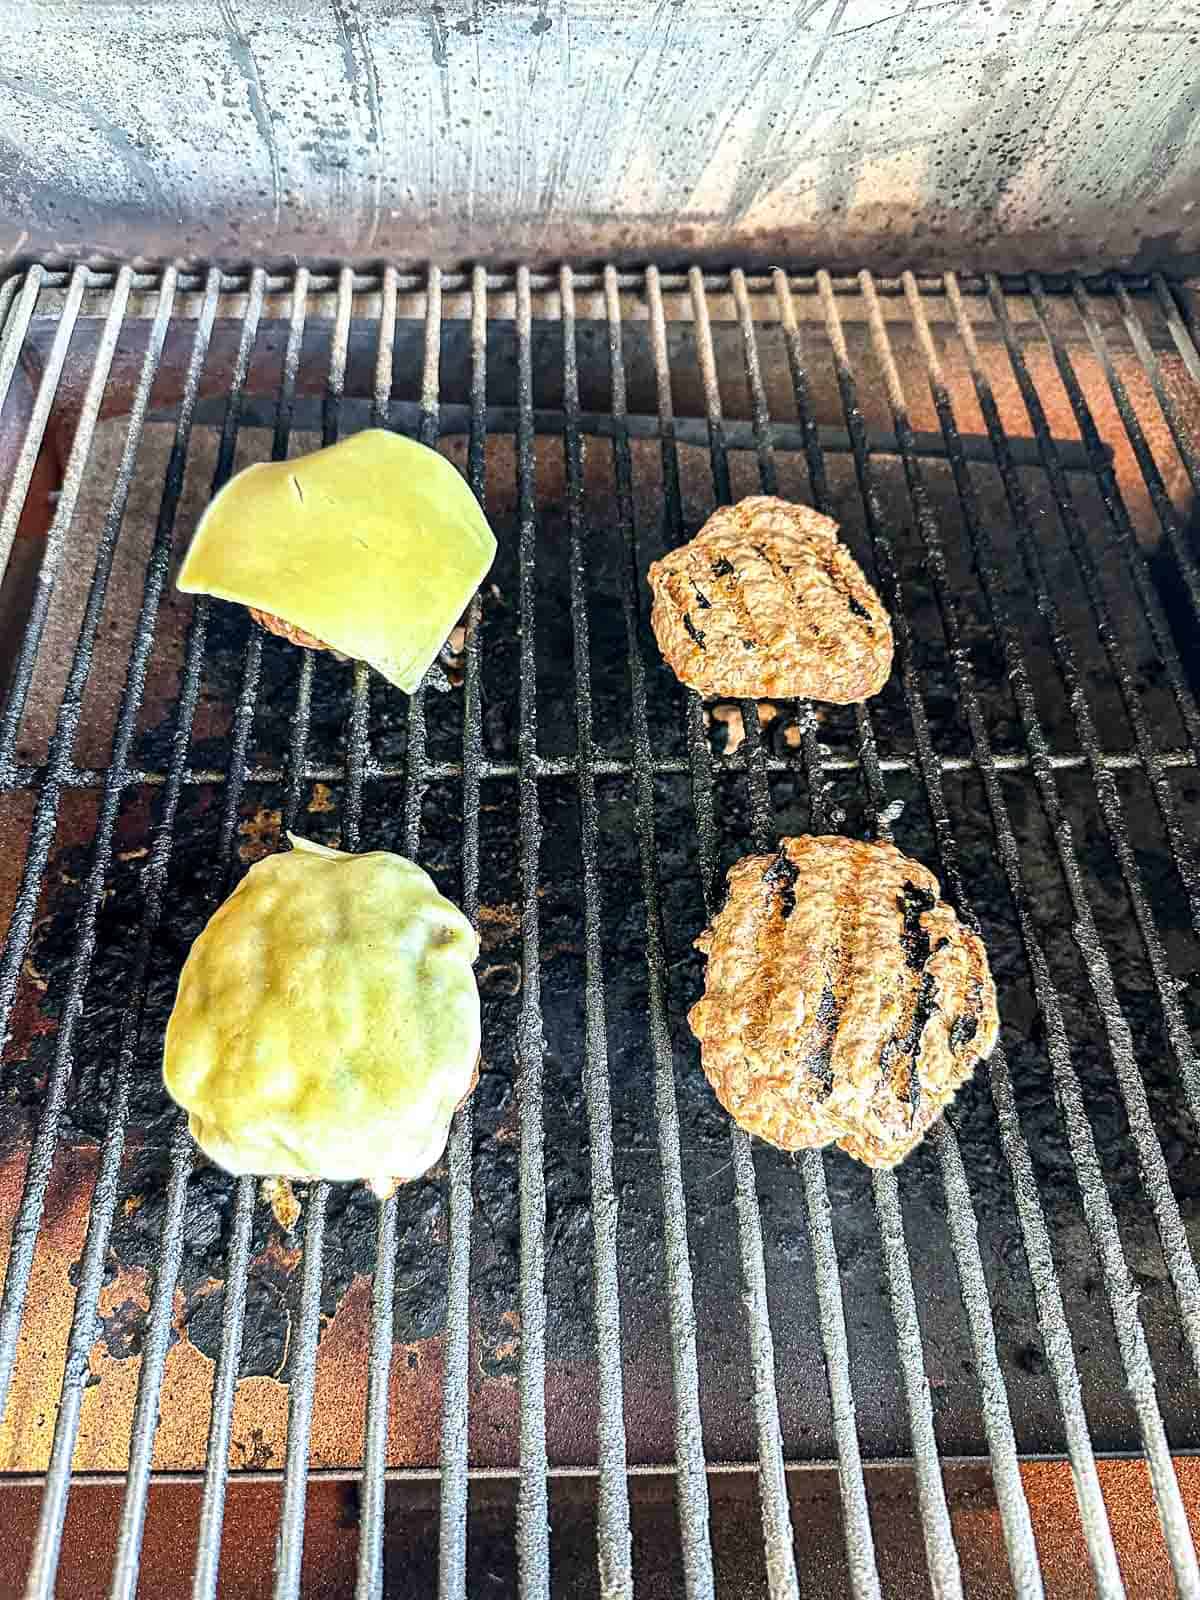
- Step 3: Place the patties directly on the grill grates and close the lid. Grill for 4 minutes and 30 seconds. Flip each patty, add a slice of sharp cheddar on top, then close the lid again and cook for another 4 minutes.
- Step 4: Pull the burgers off the grill and let them rest on a plate for 5 minutes before serving. This step matters because resting gives the juices time to redistribute through the patty so they don't all run out the moment you take a bite. Then serve on buns with your favorite toppings.
Grilled Burgers Prep & Cook Time
| Step | Task | Time |
|---|---|---|
| Prep | Mix and form patties | 10 min |
| Grill | First side | 4 min 30 sec |
| Grill | Second side with cheese | 4 min |
| Rest | Remove from grill | 5 min |
| Total | ~20 min |
Save This Recipe! 📧
Grilled Cheeseburger Temperature Guide
| Doneness | Internal Temperature | Notes |
|---|---|---|
| USDA Safe Temperature | 160°F | Recommended internal temperature for ground beef. |
| Medium-Well | 150-155°F | Juicy, but still mostly cooked through. |
| Medium | 140-145°F | A lot people prefer this texture, but it is below the USDA recommendation for ground beef. |
| Best Practice | Use a thermometer | Burger color is not always reliable, especially with grass-fed beef. |
For the safest results, the USDA recommends cooking ground beef to 160°F. You can use an instant-read thermometer, especially with grass-fed beef, since it can cook a little faster and color alone is not always the best guide.
Nadia's Expert Tips & Notes
- Don't skip the grated onion. It's the single most impactful thing in this recipe. Grating the onion means it dissolves into the beef as it cooks and releases moisture from the inside out. This is a technique rooted in Middle Eastern cooking that changed how I make burgers at home. You won't taste the onion, but you'll absolutely taste the difference.
- Form the patties ahead of time. You can shape the raw patties up to 24 hours in advance, layer them between sheets of parchment paper, cover them, and refrigerate. When it's time to cook, they go straight from the fridge to the grill. It's one of my favorite weeknight moves.
- Never press the patty on the grill. I know the temptation is real, but pressing squeezes all the juices right out of the meat. Leave them alone once they hit the grates.
- Always let the burgers rest. Five minutes off the grill makes a bigger difference than most people think. The internal temp continues to rise slightly, and the juices redistribute back through the patty instead of running out onto the plate.
- Use an instant-read thermometer. For perfectly cooked burgers without the guesswork, aim for 160°F for well-done or 145°F for medium, followed by a 3-minute rest. It's a small tool that makes a real difference in consistency.
What to Serve With Grilled Cheeseburgers
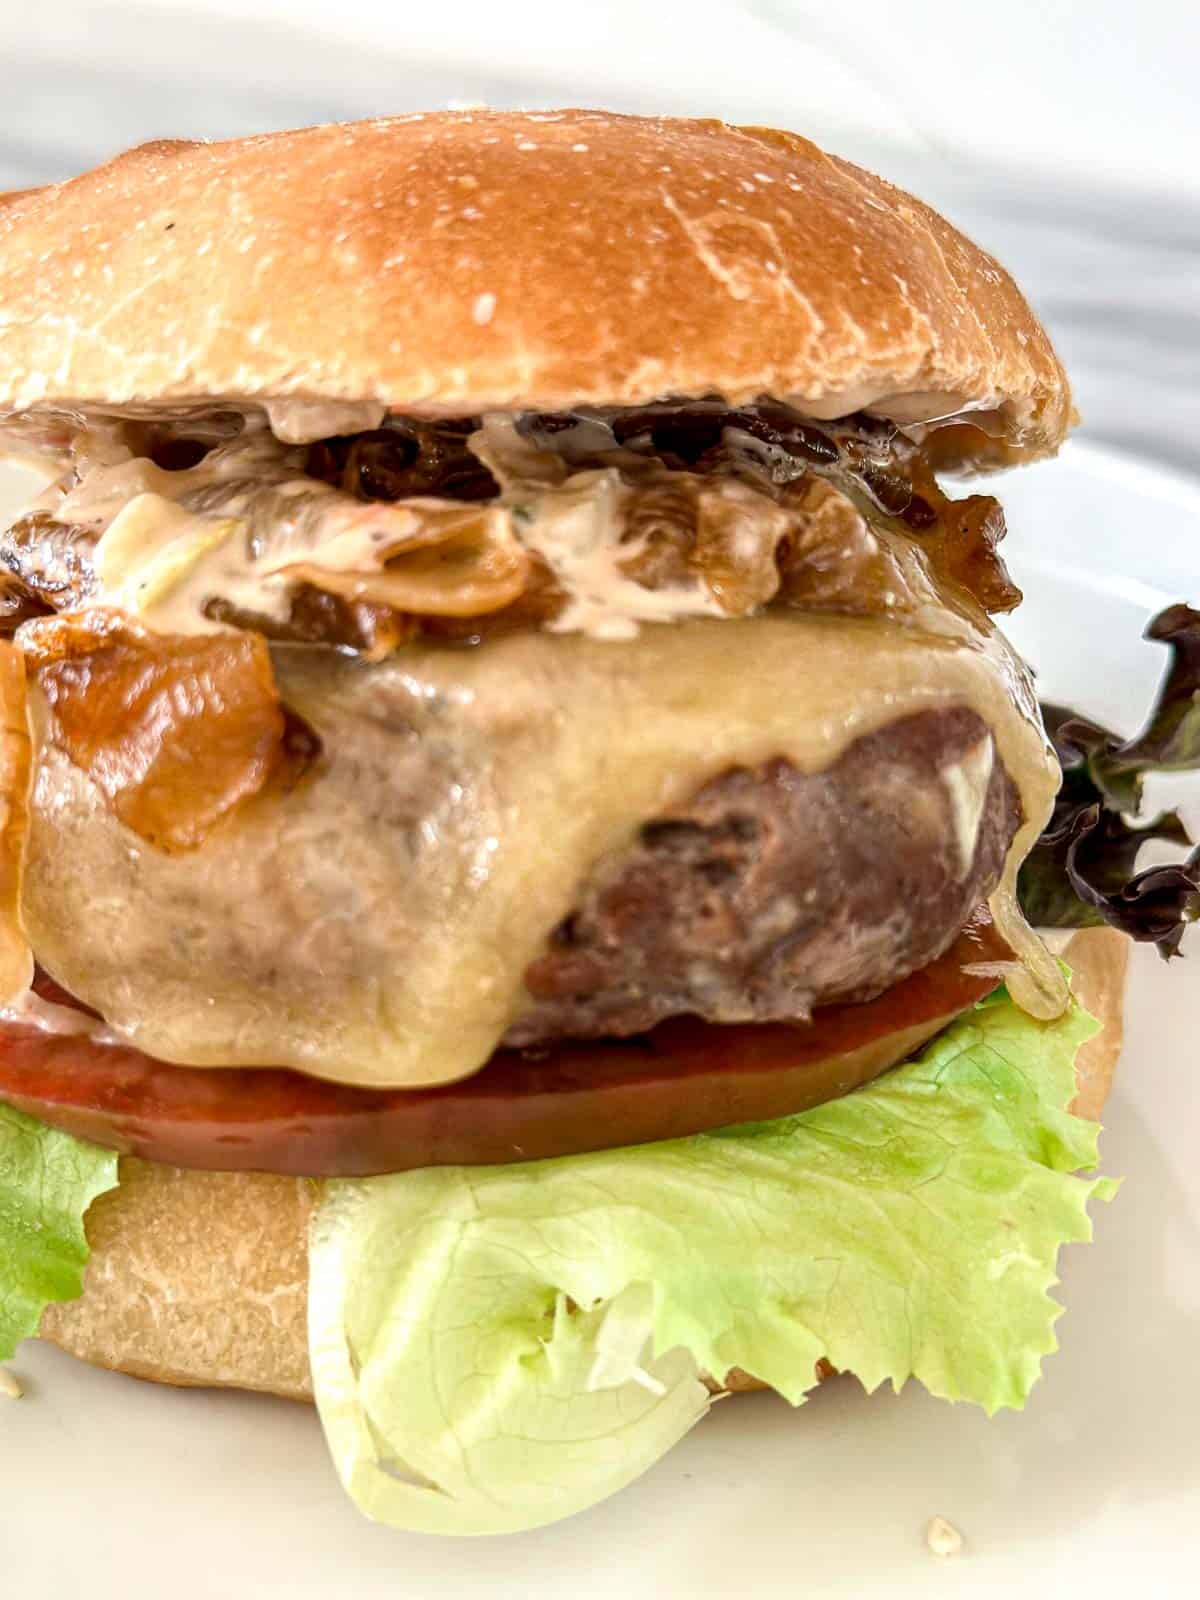
- Toppings: Keep it classic and let the burger shine. We always do crisp butter or romaine lettuce, thick slices of heirloom tomato, and caramelized onions. For sauce, my Easy Smashburger Sauce and In-N-Out Sauce are the clear favorites in our house.
- Sides: These pair perfectly with Smashed Potato Salad, Elote Pasta Salad, or Dairy-Free Coleslaw for a classic summer spread.
- Full Cookout Spread: Planning a holiday cookout or a big backyard gathering? These burgers belong right alongside Smoked Brisket, Smoked Boneless Chicken Thighs, Smoked Ribs, and Smoked Hot Dogs on a Pellet Grill for a full spread that covers every craving at the table. Round it all out with Traeger Baked Beans and you have an entire cookout covered.
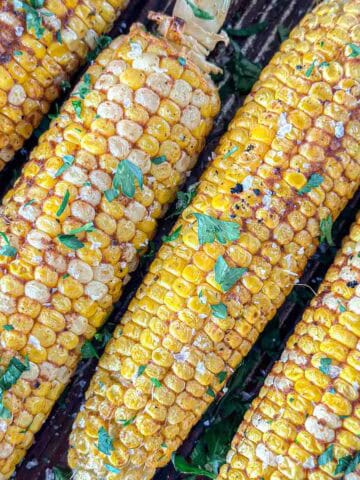
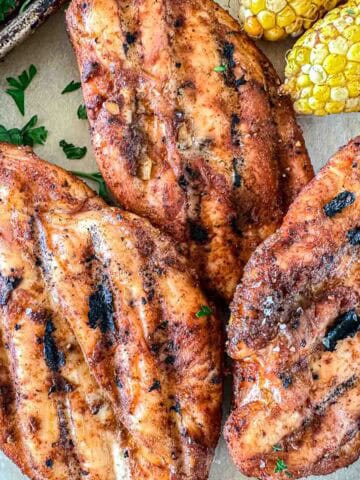
- Vegetables: Balance the plate with smoky, simple veggie sides like Smoked Asparagus, Smoked Zucchini, or smoked corn on the cob for a full summer spread.
- Leftovers: Turn extra patties into a Cheeseburger Bowl the next day with chopped lettuce, heirloom tomato, pickles, and a drizzle of smashburger sauce. It's one of our favorite ways to use up the extras without it feeling like leftovers.
Storage And Reheating
- Refrigerator: Store cooked burger patties in an airtight container for up to 3 days. To reheat, warm in a skillet over medium-low heat with a small splash of water and a lid to trap the steam. This keeps the patties moist and brings them back to life without drying them out.
- Freezer: Cooked patties freeze well for up to 3 months. Let them cool completely, then wrap each one individually in parchment paper before placing in a freezer-safe bag. Thaw overnight in the refrigerator before reheating in a covered skillet.
- Meal Prep Tip: Form the raw patties up to 24 hours in advance and store them layered between sheets of parchment paper, covered, in the refrigerator. When you're ready to cook, they go straight from the fridge to the grill. Dinner is ready in 20 minutes.
Recipe FAQs
For this recipe, I grill at 425°F on direct heat. That high heat gives you a good sear on the outside while cooking the inside quickly and evenly. Whether you're using a Traeger, a gas grill, or charcoal, make sure it's fully preheated before the patties go on.
Two things make the biggest difference here: the grated onion in the patty and not overmixing the beef. The grated onion releases moisture as it cooks, keeping the inside of the patty tender. Overmixing compresses the proteins and leads to a dense, dry burger. Mix just until everything is combined and stop there.
The USDA recommends cooking ground beef to 160°F for food safety. Some people prefer burgers cooked to a lower internal temperature, but you can always use an instant-read thermometer instead of relying on color or cook time alone, especially with grass-fed beef, which can cook a little faster than conventional beef.
Two simple moves: form your patties slightly wider than your bun since they shrink as the fat renders out, and press a shallow thumb indent into the center before they hit the grill. The indent helps the patty stay flat and cook evenly instead of puffing up in the middle.
Add the cheese right after you flip the patties, then close the lid immediately. The trapped heat melts it perfectly during the final 4 minutes of cooking. I use sharp raw cheddar from Organic Valley, but any good-quality melting cheese will work.
Absolutely, and I highly recommend it. Form the patties up to 24 hours in advance, layer them between parchment paper, cover, and refrigerate. This is one of my favorite weeknight shortcuts because the only thing standing between you and dinner is firing up the grill.
Yes. This recipe works on a Traeger, gas grill, or charcoal grill. The key is cooking over direct heat around 425°F and making sure the grates are fully preheated before the patties go on.
More Grilling & Smoking Recipes You'll Love!
If you tried this recipe please leave a 🌟 star rating and let me know how it went in the 📝 comments below. You can also stay in touch through social media by following along on Instagram, Pinterest, YouTube, or Facebook. Thanks for visiting today!
Juicy Grilled Cheeseburgers For Gas or Pellet Grills
Ingredients
- 1 lb Grass-Fed Ground Beef
- ½ Onion grated
- ½ teaspoon Garlic Powder
- ½ teaspoon Smoked Paprika
- 1 teaspoon Sea Salt
- ½ teaspoon Pepper
- 4 slices Sharp Cheddar Cheese
Instructions
- Preheat your Traeger (or any grill) to 425°F on direct heat. While it's heating up, add the ground beef, grated onion, garlic powder, smoked paprika, sea salt, and pepper to a large bowl. Use your hands to gently combine everything together, but be careful not to overmix. Overworking the meat is the fastest way to end up with a dense, tough patty.1 lb Grass-Fed Ground Beef, ½ Onion , ½ teaspoon Garlic Powder, ½ teaspoon Smoked Paprika, 1 teaspoon Sea Salt, ½ teaspoon Pepper
- Divide the mixture into 4 equal portions, about 4 oz each. Shape each one into a patty with your hands, making it slightly wider than your bun because the patties will shrink as they cook. For this timing, aim for 4-ounce patties that are about ½ to ¾ inch thick. Thicker patties will need more time, so use a thermometer instead of relying only on the clock. Once formed, press a shallow indent into the center of each patty with your thumb. This simple step keeps the center from puffing up and helps the burger cook more evenly all the way through.
- Place the patties directly on the grill grates and close the lid. Grill for 4 minutes and 30 seconds. Flip each patty, add a slice of sharp cheddar on top, then close the lid again and cook for another 4 minutes.4 slices Sharp Cheddar Cheese
- Pull the burgers off the grill and let them rest on a plate for 5 minutes before serving. This step matters because resting gives the juices time to redistribute through the patty so they don't all run out the moment you take a bite. Then serve on buns with your favorite toppings.
Notes
Expert Tips & Notes
- Don't skip the grated onion. It's the single most impactful thing in this recipe. Grating the onion means it dissolves into the beef as it cooks and releases moisture from the inside out. This is a technique rooted in Middle Eastern cooking that changed how I make burgers at home. You won't taste the onion, but you'll absolutely taste the difference.
- Form the patties ahead of time. You can shape the raw patties up to 24 hours in advance, layer them between sheets of parchment paper, cover them, and refrigerate. When it's time to cook, they go straight from the fridge to the grill. It's one of my favorite weeknight moves.
- Never press the patty on the grill. I know the temptation is real, but pressing squeezes all the juices right out of the meat. Leave them alone once they hit the grates.
- Always let the burgers rest. Five minutes off the grill makes a bigger difference than most people think. The internal temp continues to rise slightly, and the juices redistribute back through the patty instead of running out onto the plate.
- Use an instant-read thermometer. For perfectly cooked burgers without the guesswork, aim for 160°F for well-done or 145°F for medium, followed by a 3-minute rest. It's a small tool that makes a real difference in consistency.
Leave a Reply